Monday, August 13, 2012

I Survived My Mom's Surprise Dessert Party!

Whew I am back! I'm not really positive how on earth I successfully surprised my mom. Geez, I'm only 15, and I don't think I ever want to see another cookie, brownie, or pie ever again. BUT...if you would like to undertake the task of throwing a budget friendly dessert party, you are at the right place :)


I love cupcake toppers. It's a little weird how cute I think they are. So... why not top everything with color coordinated cupcake toppers? Yes please. To make them is so easy! Cut hearts out of scrap booking paper and hot glue the heart to a toothpick. So so easy!

Here's the cake. I'm artistically challenged, so I just stuck with plain ol' bunting. I went on etsy to look for the easy way out, but bunting that cost $25 for a cake? Yeah. Right. So, scrap booking paper saved me again. Cake pop sticks, scrap booking paper, and twine created this bunting in less than 5 minutes!


Here's the table from a distance. Sorry for the bad pictures. I was in such a hurry that I barley had time to snap any pictures! It's a simplistic design, but overall I was happy.

If you can see my little chalk board in the back, I wrote Life is Short, eat dessert first. Tutorial for that is coming very soon! I am sooo artisitc, and that actually came out decent. Talk about how thrilling.


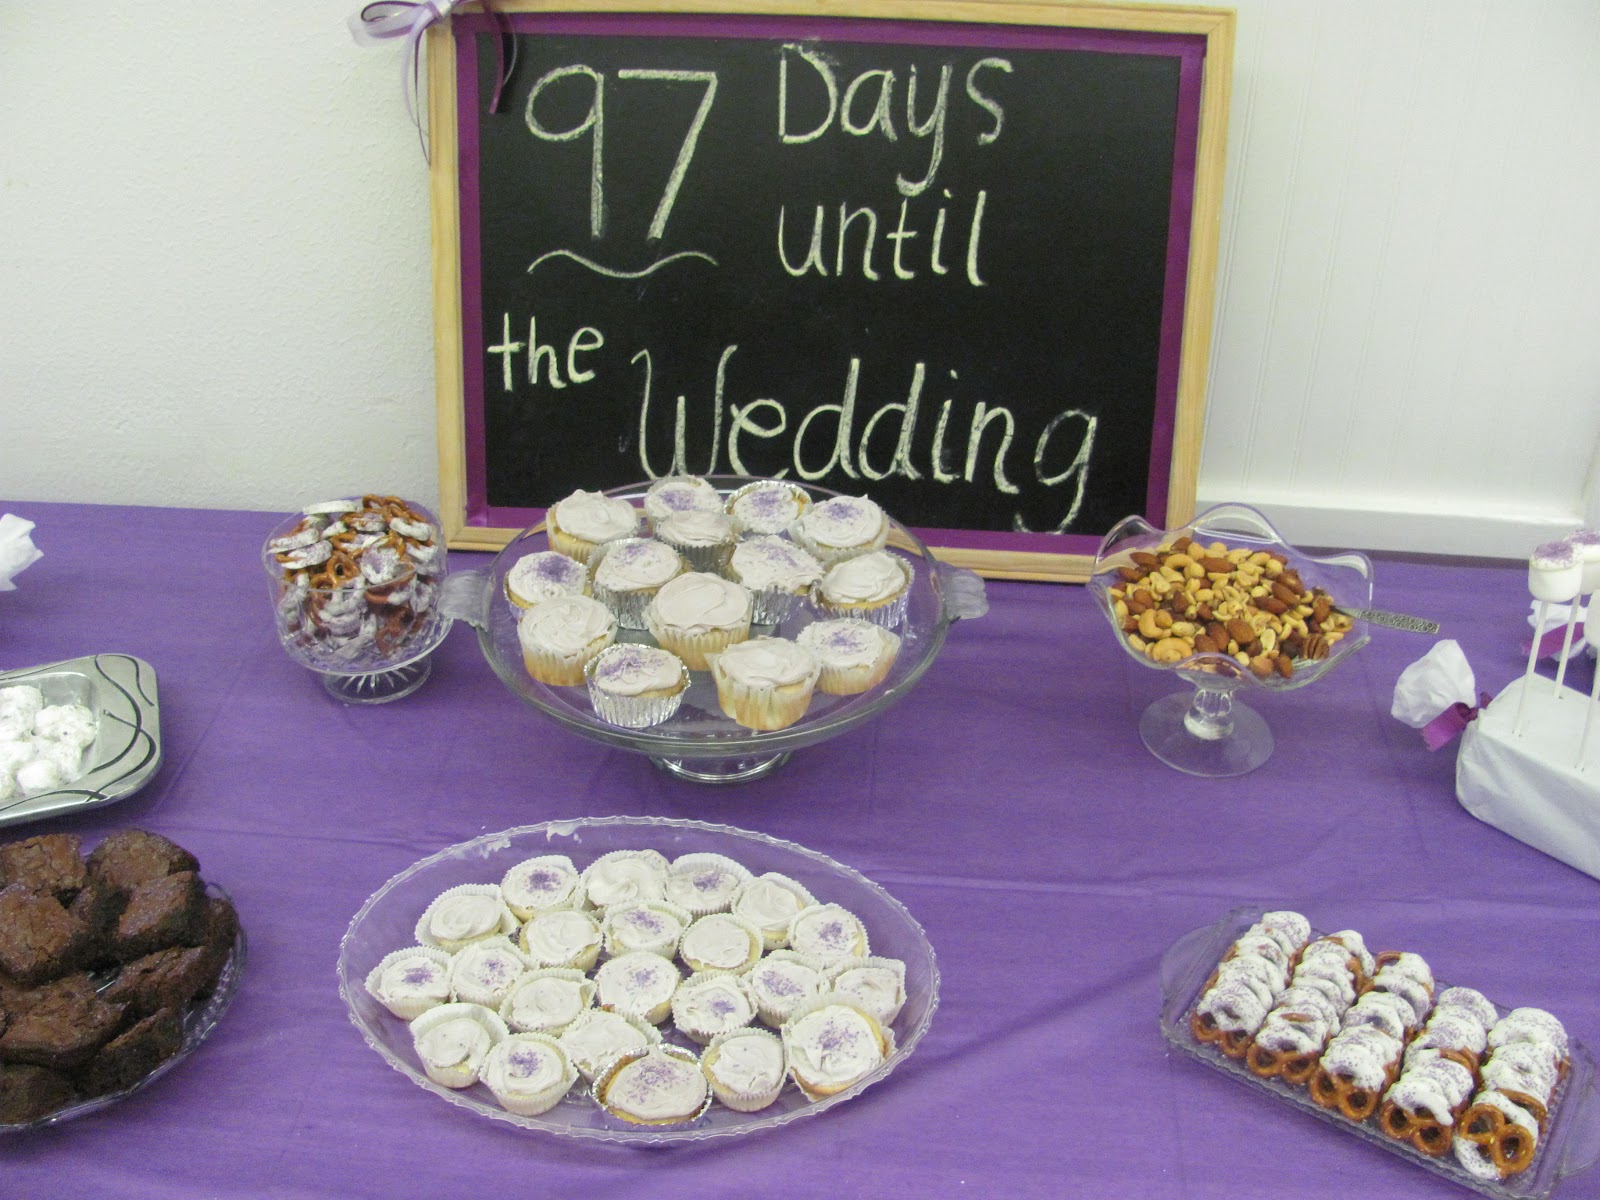
I made brownies, chocolate chip cookies, mini blueberry pies, pie pops, oatmeal cookies with coffee icing, and ferrero rochers because they are so tasty! So. Much. Food.


These are the oatmeal cookies with coffee icing. They are addicting. They will be the reason I'm unable to do sports this year. I have the recipe in a previous post. Go, go go! You won't regret it!


Here's the front entrance! Antique look with my mom's baby picture and roses! I chose pink so it didn't look all 'Hey you're my girlfriend, here's red roses!'


Ferrero Rochers on the table. So cute! They were a hit or did my brother eat them all before anyone else could.

.

The whole effect! I made tissue paper pom poms like Martha Stewart by myself, and I am so so pleased with how they came out! My bunting on the window is in fact printer paper and yellow wall paint. Once again a money saver, and it came out pretty well!


Well, Happy Birthday Mommy! I hope you enjoyed your surprise party!

XOXO,
k


Read More

Thursday, August 9, 2012

Miss American Pie.

I love blueberry pie, but today I didn't exactly have all the time in the world. Not a problem.


I went to my local grocery store (which happens to be H.E.B) and they had Athens Phyllo Shells to make miniature desserts out of. They're about $2 per 15 shells, and make pie making a breeze.


Literally all you have to do is whip up a pie filling, fill these shells, and bake them for around 6 to 8 minutes. It took me around 15 minutes overall to make 20 of these adorable pies.


I then decided I wanted to challenge myself. Everyone has taken on the challenge of cake pops. By now so many blogs have exotic cake pop designs, that my normal round ones dipped in chocolate looked lame with a capital L! So why can't we have pie pops? The all american treat you could call them.


Why not indeed. Pie pops are SO much easier to make then cake pops. All you have to do is make whatever pie filling you want (I chose blueberry). Then, you either roll out a store bought or homemade crust. (I decided to go all out and make a homemade crust, and my recipe is at the bottom of this post!)  Then make circles on your crust with a glass (depending how big you want you pie pops that's how big of a glass rim you use). Put half of your circles on a greased and floured baking sheet and fill them up with your filling! I added a cake pop stick for effect and topped them off with another circle of crust! I sprinkled the tops of the crust with sugar and nutmeg, and even added a design with a fork around the edges! Fancy huh?


Are pie pops the next cake pops? Just watch them take the web by storm after this post! :)
Okay here's the important stuff. The recipe!

Blueberry Pie Filling Recipe
4 to 5 cups of blueberries
1 cup of sugar
1/4 cup flour
1 tablespoon of lemon juice

My Homemade Pie Crust

1 cup of flour
1/2 tsp. of salt
1/4 cup of oil
3 tablespoons of ice water

Mix the flour and sale together in a bowl. Separately from the dry ingredients, mix the oil and water together until the mixture looks milky. Add to the dry ingredients and mix. Roll out into a crust adding water or flour if needed.

Also, a new American Test Kitchen thing is using vodka in pie crust! It helps it roll out so much smoother! If you want to try vodka in your crust, just reduce the ice water to 1.5 tablespoons and add 1 1/5 tablespoon of vodka!

Happy Baking!


Read More

Oatmeal Cookies with Coffee Icing!


My two favorite things in life are oatmeal and cookies. You could say I can get a little obsessive about each. How about oatmeal, a cookie, and coffee combined? Heaven. One of many desserts I made for my mom's party includes these oatmeal cookies with coffee icing. 


For the avid reader, you might recognize these from The Peach Keeper, which is a book by Sarah Addison Allen. If you haven't read it yet, I highly recommend it. Anyways, in the book the girl name Rachel makes coffee snacks, and these cookies happen to be something she made in the book. They sounds oh so delicious to me, and I never thought a recipe might exist. Google and an author's website proved me wrong.


So whether you want these oatmeal cookies plain or with the coffee icing, I think you should go make these. Now. You will not regret it. I found myself eating the dough out of the bowl in anticipation of the actual cookie. 


Okay, enough gushing! You have got to try these for yourself! Here's the recipe!
Oatmeal Cookies with Coffee Icing
2 sticks (1 cup) butter, softened
1 3/4 cup granulated sugar
2 eggs
1 1/2 tablespoons honey
2 teaspoons vanilla
2 1/4 cup all-purpose flour
2 teaspoons cinnamon
1 1/2 teaspoons baking soda
1/2 teaspoon salt
2 cups quick-cooking oats (not instant or old-fashioned) 

Whip the butter with your mixer until it's smooth. Stir in the sugar and mix well. Stir in vanilla, honey and eggs and mix well. Sift together flour, cinnamon and baking powder, and add to the butter mixture. Stir in oats. Drop the dough onto a cookie sheet by teaspoonfuls (or more if you like a big cookie like I do.) I flattened mine a bit before putting them in the oven, but it's completely unnecessary. Just roll em' into balls and place them on the sheet. They really couldn't get any easier to make.
Bake at 350 degrees for 6-8 minutes.

Enjoy!

Click here to see the original recipe! Click here to buy The Peach Keeper by Sarah Addison Allen. It's even on sale, and come on! You need a good book to read while eating your cookies and enjoying the last days of summer! :)


Read More

Prepping for a Dessert Party.

Happy Thursday everyone! It is officially T-minus 1 day until my Mom's surprise birthday party. We've decided to make it a homemade dessert party by making all of her favorite desserts into bite size treats.
This is a morning's work. (Don't worry too much, the brownies were still in the oven, and the oatmeal cookies are on the counter!) Ready for some recipes while I procrastinate take a quick break before making cream puffs and a cake?

Read More

Wednesday, August 8, 2012

Christmas in July: The Attic Adventures

Welcome to paradise. Or my type of paradise. It's not my fault that I'm obsessed with Christmas, and my grandma happens to have closets and attics overflowing with decorations.
This is a bathroom closet in the upstairs. Who says Christmas can't be in the bathroom?

So many decorations! I seriously thought I was going to die right then and there. That was until I took my Canon into the attic. I'm still getting shivers from that.

You walk in and it just looks normal. Old clothes, boxes, wreaths, etc. Oh and by normal I mean it looks like the attic of a florist.

Then all of a sudden Christmas is everywhere. When I say everywhere, I mean business. 

Have I mentioned my Grandma kind of likes her fake flowers? She could open a small business in this 1000 sq ft. attic.

Here's my last shot before making my grand exit. I should've taken a LOT more photos, but I had to look at everything and try to get enough Christmas cheer in me to sustain me until December! 


Read More

North Carolina Charm and Great Attics.

Hello! Should I reintroduce myself? Sorry for the reeaaallllyyyyy extended vacation. Emphasis on the extended please. I was enjoying the lovely state of North Carolina, and have come back with some adorable decorating ideas courtesy my lovely Grandmother.

We drove up to my Grandma's beautiful home in early June!
Her little floral touches by the garage were oh so charming!


Look at this pineapple sign! This is something that would be a great DIY project (hint, hint!)

Her bench with pillows and flowers around it look so appealing on a hot summer day. Oh and do you see the fallen wreath on the bench? That was just part of our reunion aftermath!

If only we had pine trees in Texas! *sigh* Well anyways, now on to better things like the inside of her house! 

Her sunroom is something every house needs! These colors are so bright and so so relaxing!

Hallway to her bedroom. It's an oriental and modern mix.

My Grandma's sunroom chair. It's so big and fluffy, always cheering me up.

Big TV with birdhouses and christmas lights around it? HUGE fan of the Christmas nights. You guys must know that I am just a lil obsessed with holidays!

This is the view from upstairs. The red couches are in the oriental room. It is so chic!

Grandaddy's big chair complete with an organized TV viewing station. Yes please.

I love the under the table detail! House crashing my Grandma's house rocks!

Last but not least a big lots shelf turned chic in the oriental great room. Now off to post about my attic adventures! Love you all!


Read More

Saturday, June 2, 2012

Keep Calm and...Fill a Blank Wall Without Paint!


Today I was feeling quite exasperated with out laundry room. We have tried painting it more than once, but the paint always peels. Apparently we would have to sand the walls and then paint so many coats of various paints on the walls just to make one coat stick. I give up. You hear me? I give up! Or do I...


Here's the wall. Think what you will. Yeah, I know...it's gross. It's not even white anymore, it's that horrific off white that looks like yellow or dirty white or etc.


Here it is completed. I know, it's still not paint, but the bulletin board added free flair and color to the room that it lacked before. I promise I'll paint this summer if everything else in my life doesn't get in the way. Okay? Happy?


Also, slightly off topic. On the other side of the room there was a lot of blank wall too. I found a lot of our old Texas license plates and think they're charming. If anything, they take your eyes off the walls. TTFN!


Read More

Keep Calm and...Throw a Budget Friendly Wedding Shower!


The wedding shower. The party that everyone remembers. So why did I decide to give one when I had a choice? Well... About a month ago, I decided that I should give a wedding shower for my church's youth director. It was the least I could do for a guy who has done countless things for my church. I mean Pinterest makes party planning seem really easy right? Wrong. I found myself a little over my head. Who wants to spend $100 on just cake? Not me. So, here are my tips on really giving a low budget wedding shower that is not unmanageable.

Here's the finished dessert table. We were in the church fellowship hall, so it's not stunning, but it did it's job! The shower also included a main dinner, but that was in the kitchen. Everyone just wants to see the desserts right?


On a second table, I had all the gifts. If you can see the sign, it's an old whiteboard covered in tissue paper. I bordered it with dollar store ribbon, and then printed off all of their photos together in black and white to give it a more formal look. This was one of the party favorites and it cost 2$ max! Yay!


Here's some of the food. I just had pretzels and nuts out, nothing special there, but they provide easy, cheap snacks.


I used an old chalkboard and ribbon to create the Wedding Countdown! The couple had no idea how soon the wedding was! This served as a cute reminder and decoration. 2 for 1? Yay again! Oh and can you tell purple was her favorite color?


Here's a far away view of the dessert table. The tissue paper flowers I made on my own! You can get a tutorial here, but I just used scissors to cut the edges of the tissue paper and spare wire from around the house.


The little white cookies on the silver platter are known as Mexican Wedding Cookies, so they fit the occasion perfectly. I don't want to post too much about these cookies because I'll be posting a recipe soon, hint hint! All I can say is they are light and fluffy and oh so good!


I made mini vanilla cupcakes with purple frosting and sprinkles. They were just from a regular ol' cake mix, but I had quite a few people ask for my recipe. We forget about the cake aisle sometimes don't we?

Sam's Club has AMAZING hershey brownies in a big box of four, and at this shower, we needed every box. I just popped the mix into the oven for around 20 and sprinkled purple sprinkles onto to make them seem somewhat elegant. Bam, easy dessert done.


For a cheap yet pretty dessert, dip pretzels in chocolate. I dyed some of the chocolate lavender, but it wasn't working too well. The chocolate got too thick. If you leave the chocolate white and just add color sprinkles, the pretzels still look really tasty. Everyone at the party was excited about the sprinkles! Ah, childhood memory lane...


For the base of this giant marshmallow stand, I used floral foam from Walmart (it cost around $5) and wrapped it in tissue paper and tied it off with extra ribbon. I put marshmallows on lollipop sticks (You can get them at Michaels or any craft store!), then dipped them into store bought block chocolate. I stuck them into the floral foam and sprinkled them before the chocolate cooled. I actually didn't have many drips, and it took around 10 minutes to make all 4 blocks.

Well, good luck and may God bless you if you are planning something to this extent. I hope I provided some somewhat useful ideas for you!


Read More
KeepCalmand... Powered by Blogger.

Search This Blog

© 2011 Bows, Pearls, and Texas Girls., AllRightsReserved.